ArcGIS Pro
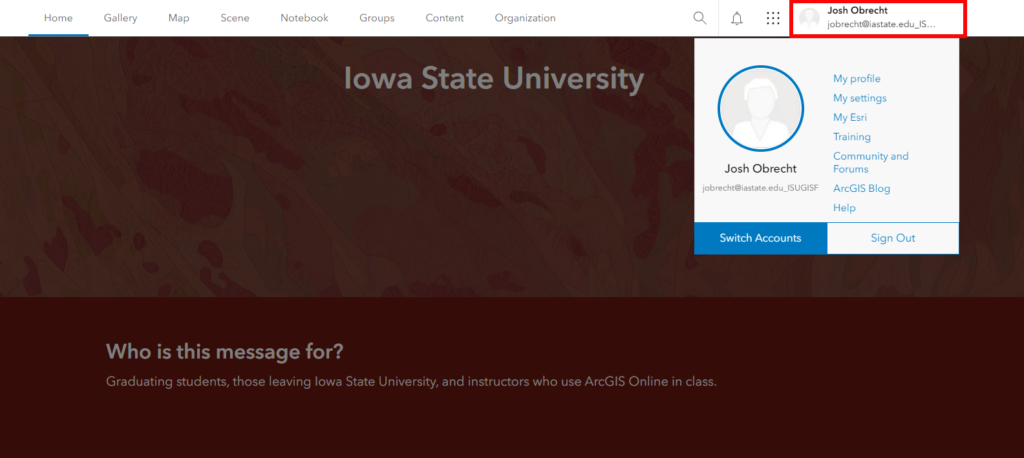
Iowa State University has a site license for ArcGIS Pro that allows for installation on University and personally owned computers for faculty, staff, and students. Below you will find instructions on how to install and license the software. To begin, you will need to have an ArcGIS Online account with the Iowa State University organization. If you do not have one already, visit https://isugisf.maps.arcgis.com. If you are a part of the InTrans ArcGIS Online organization, you would use https://isu-intrans.maps.arcgis.com and if you are a part of the ISU Admin ArcGIS Online organization, you would use https://isuadmin.maps.arcgis.com, wherever the isugisf ArcGIS Online is referenced. 
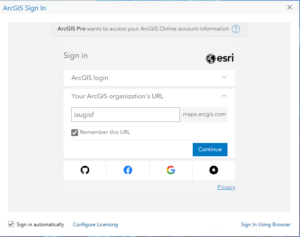
On your first visit, you will log in via your ISU Microsoft login. This will automatically create your account. This account provides you a Named User license to ArcGIS Pro. If you are currently using the license server (Concurrent) or a single-use license, you can follow these instructions to change to Named User.
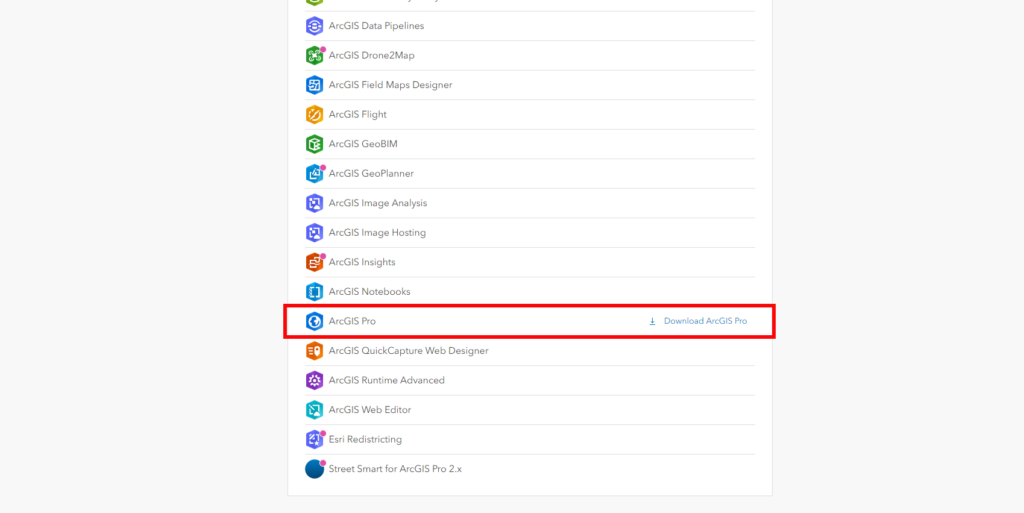
The below are instructions to download and install on single computers. If you will be needing to install on multiple computers, please contact Josh Obrecht (jobrecht@iastate.edu) for how to obtain the software via CyBox or MECM.
Download Software
- Log in to the Iowa State University ArcGIS Online: https://isugisf.maps.arcgis.com
- Click the customer name in the upper right corner, as shown in the following image.

- Click on My Settings

- On the left side, click on Licenses
Scroll down to find the Download option for ArcGIS Pro, as shown below

- The default is the latest English version. Bear in mind that you can only change the language, not the version. If you need a previous version, please contact Josh Obrecht (jobrecht@iastate.edu).
Software Requirements
Before you install ArcGIS Pro, there are two prerequisites you need to have installed: Microsoft Windows Desktop Runtime version 8.* and Microsoft Edge WebView2 Runtime version 117 or later. To check whether you have these installed, use the search bar or click on start and search for Apps & Features. In the list of apps installed, you should see both. If you do not, follow below to install.
Windows Desktop Runtime
To install this requirement, proceed to the .NET download page and choose the option as seen in the image for the latest version. Choose the x64 option under .NET Desktop Runtime 8.*.*.

Microsoft Edge WebView2
To install this requirement, proceed to the WebView2 download page and scroll down to Evergreen Standalone Installer. Choose the x64 option.

Software Installation
Follow the steps below to install ArcGIS Pro:
- Browse to the location where you downloaded ArcGIS Pro, and double-click the executable file (.exe) to start the installation process.
Accept the destination folder to which files are extracted or click Browse to browse to a different folder.
The default destination folder is <System Drive>\Users\<username>\Documents\ArcGIS Pro <version>.
Click Next.
A message informs you when the files have been successfully extracted. The Launch the setup program check box is checked by default.
Note:
To install the software later, uncheck the Launch the setup program check box. When you're ready to install, browse to the destination folder and double-click ArcGISPro.msi.
- Click Close.
- On the ArcGIS Pro Setup splash screen, click Next.
- Under Welcome to the ArcGIS Pro Setup program, read the information, take recommended actions, and click Next.
- Review the master agreement and choose an option:
- If you agree to the terms, click the option to accept the agreement and click Next.
- If you do not agree to the terms, click Cancel to exit the installation.
Choose an installation context option:
- Click Anyone who uses this computer (the default) for a per-machine installation.
- Click Only for me for a per-user installation.
Note:
You must have administrative privileges to make a per-machine installation.
- Click Next.
Accept the default location based on your installation context option, or click Change to specify a different folder.
The default location for the Anyone who uses this computer option is <System Drive>\Program Files\ArcGIS\Pro. The default location for the Only for me option is <System Drive>\Users\<username>\AppData\Local\Programs\ArcGIS\Pro.
Note:
If you choose a location other than the default, it is recommended that the path include a folder and not be the root location of a drive. The modified path does not append \ArcGIS\Pro\ by default.
- Click Next.
Choose whether to install one or more AI Models features.
The AI Models features for semantic search and geoprocessing tool suggestions are not installed by default.
Click Next.
Under Ready to Install the Program, the option to participate in the Esri User Experience Improvement program is checked by default. Uncheck the box if you don't want to participate. (You can change your participation status at any time after ArcGIS Pro is installed.)
Click Install.
When the installation is completed, the Run ArcGIS Pro now option is checked by default. Uncheck the box if you don't want to start the application immediately.
- Click Finish.
License Software
The first time you start ArcGIS Pro with a Named User license, you must sign in to the application with your ArcGIS Online organization credentials. After that, you don't need to sign in again unless you explicitly sign out.
To sign in to ArcGIS Pro, complete the following steps:
Start ArcGIS Pro.
The ArcGIS Sign In window appears.
Click Your ArcGIS organization's URL.
Enter isugisf into the text box. Check the Remember this URL checkbox.
The Sign in automatically check box is checked by default. As long as you leave this box checked and don't sign out of ArcGIS Pro, you will not need to sign in the next time you start the application.
Click Continue.
Proceed to log in via the ISU Microsoft system. By choosing all of the remember me options, you should not need to log in again.
Your name and active portal are displayed at the top of the ArcGIS Pro application window. You can be signed in to ArcGIS Pro on up to three computers at the same time.